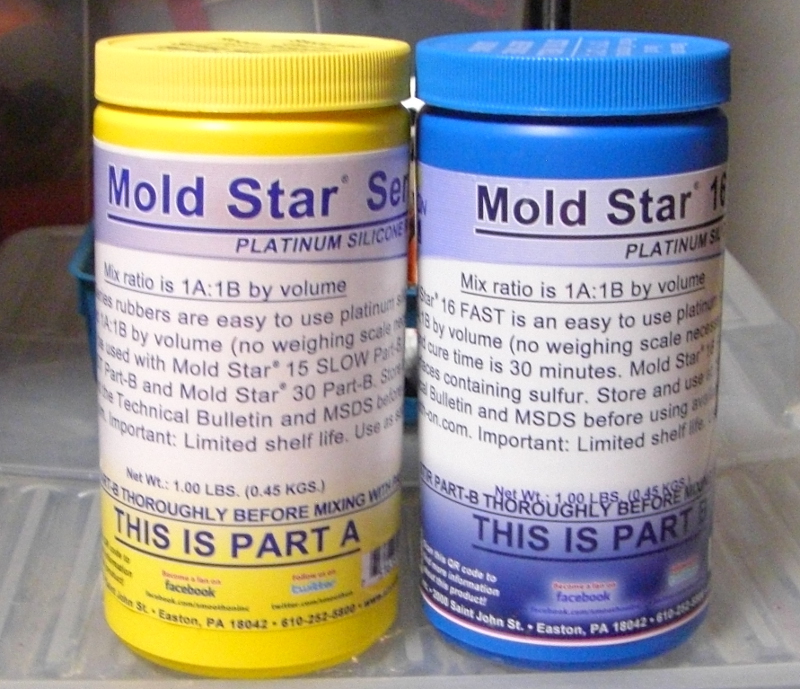
This is a nifty technology for making candles and casts, and lots of hobby and crafts. I learned how to do this at TechShop in San Jose. The smooth-on.com website also has lots of videos. It is a two part process, mixing equal amounts of these two containers.
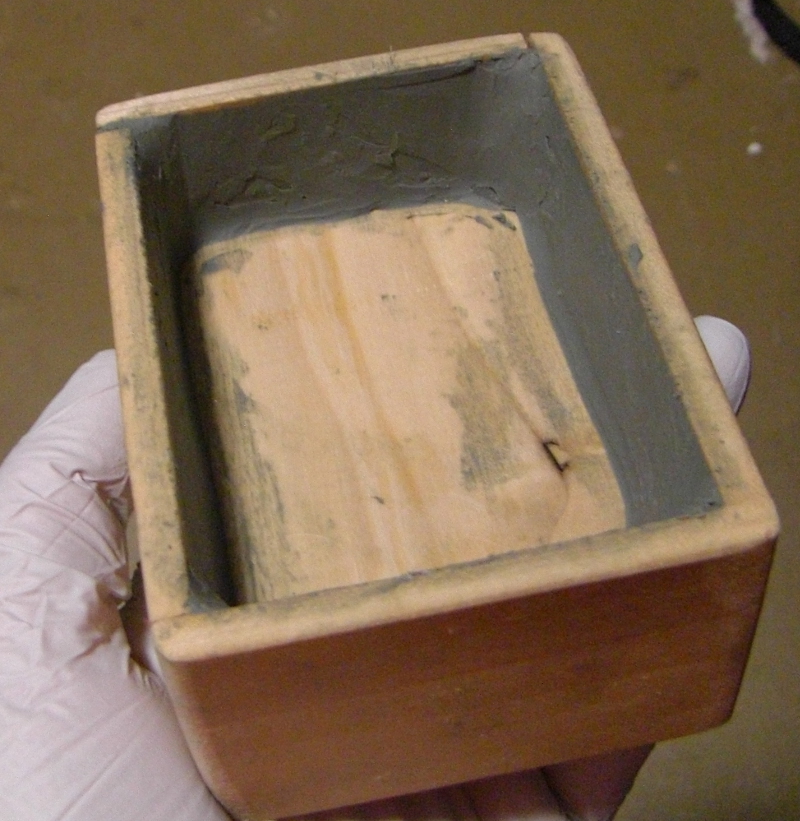
I build little boxes for the molds, plywood for the floor and thin poplar for the walls, glued together and sanded around the edges.
The walls are coated with clay. More clay makes it easier to get the final mold out, but the mold will pick all the detail, so spend some time making the clay cavity as smooth as possible, or your mold will look kind of lumpy.
There are two families of silicone rubbers, zinc and platinum based. I’m using the platinum, which are food grade, so they can be used for making ice cube and chocolate molds, etc. The clay used with platinum based silicone must be sulfur-free, like this plastiline.
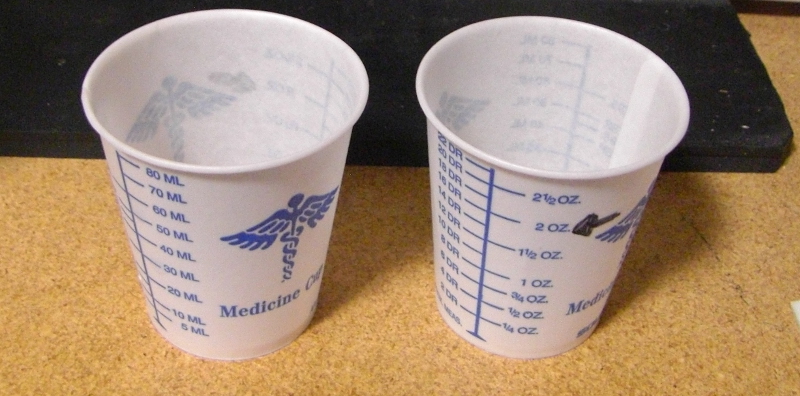
I use little medicine cups with lots of measurement lines. I determined that I needed 4 ounces total, so poured out 2 oz of each. Then pour both into a cup for mixing. I had to scrape out both to get all of these rather thick liquids.
Time to start mixing. the working time is about 6 minutes, so it has to be mixed and poured before then. Rotate the cup, scrape the sides, stir briskly.
Keep mixing until all the traces of white are gone. Not yet.
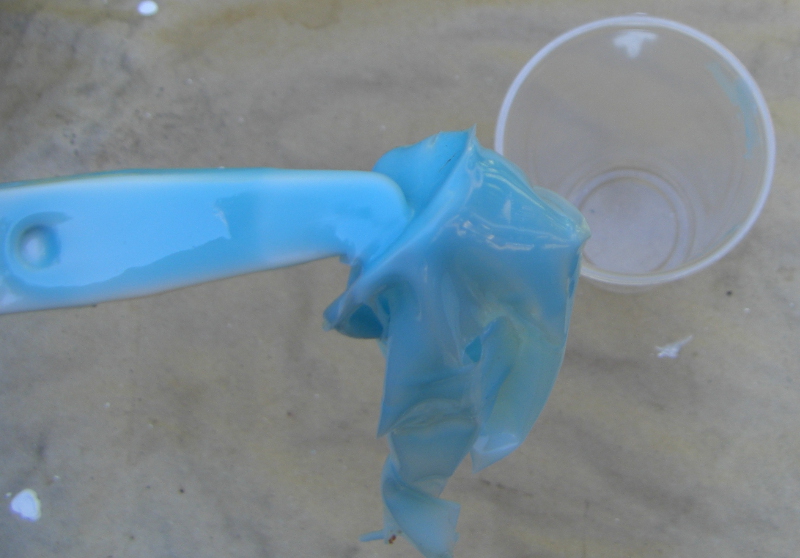
This is ready, uniform light blue, no traces of white left,
Now it’s time to pour. The mold is a negative cavity which allow you to make copies of something. The original positive used to make the mold is called the plug.
There should be at least 1/2 inch on every side between the plug and the sides of the cavity. This ensures that the resulting mold will be strong enough to handle and not tear when trying to get the final objects out.
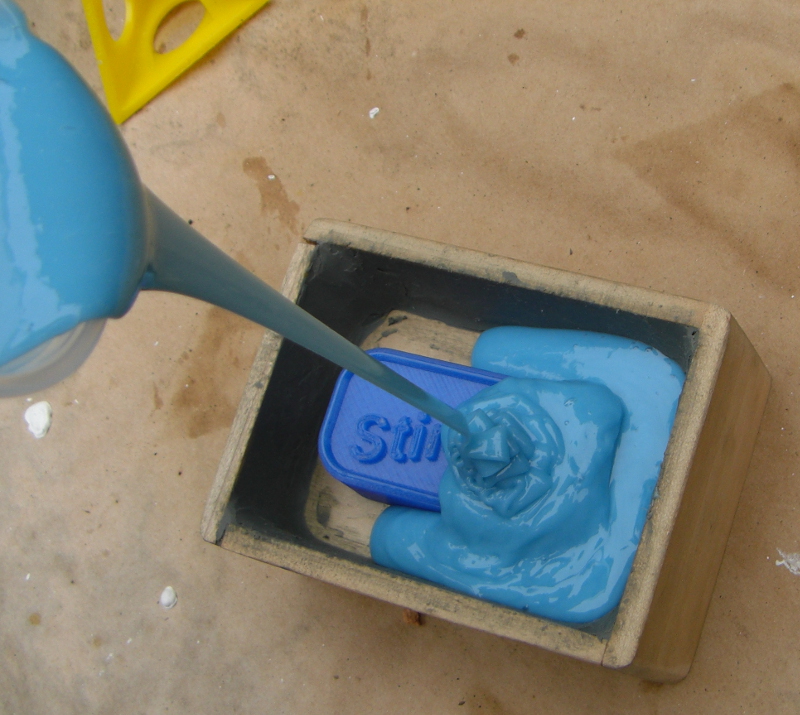
The quality of the mold is in part determined by how carefully you cover the plug, making sure there are no bubbles under the silicone. Those bubbles on top are OK.
Scrape the sides of the cup to get all the goo out.
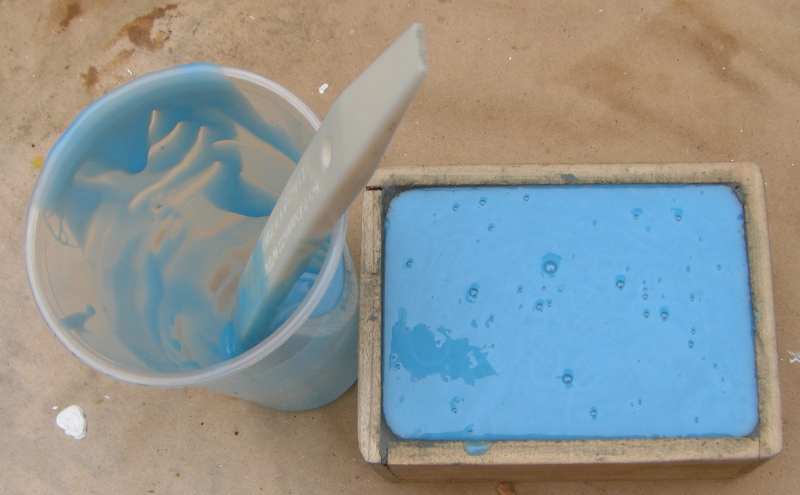
Don’t throw the cup away just yet. Keep it until the silicone sets. When you can peel away the contents, then its done. The box says 30 minutes, I usually leave it a bit longer.
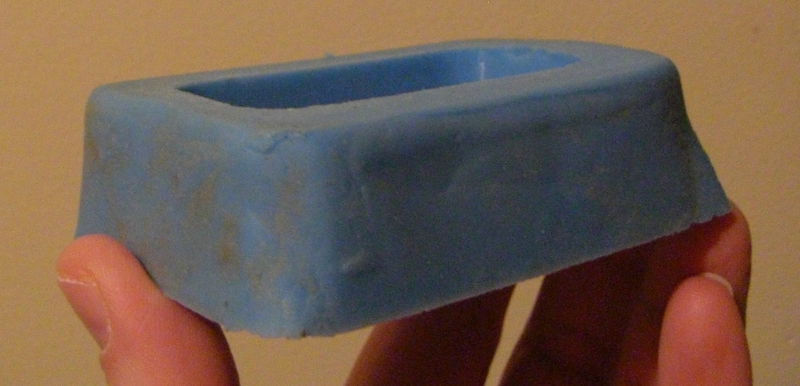
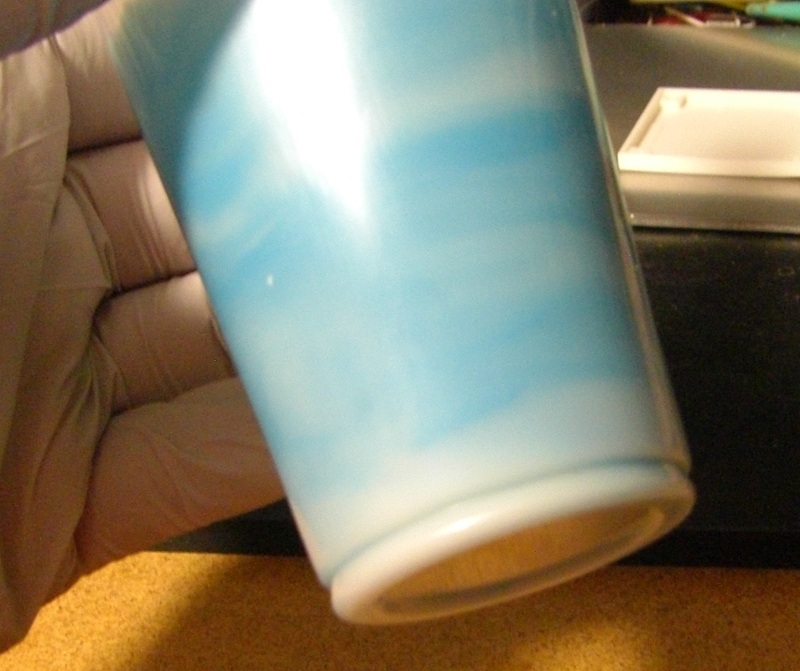
My previous attempt using this technique, I used lots of clay, which made it easy to pull out. The bottom was a clay surface and it looked sort of flat, but clearly it wasn’t.
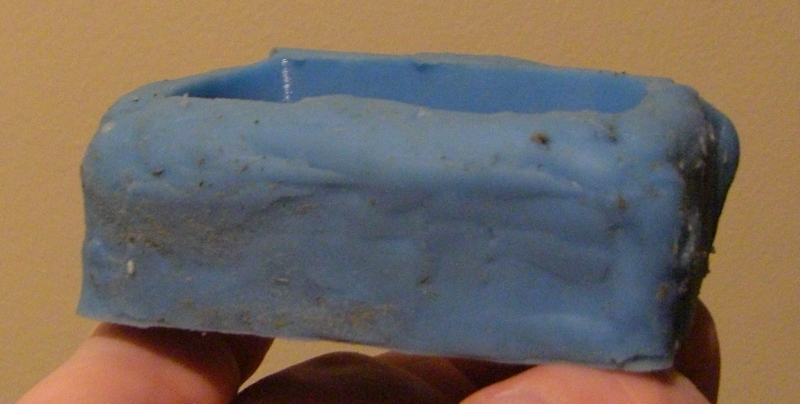
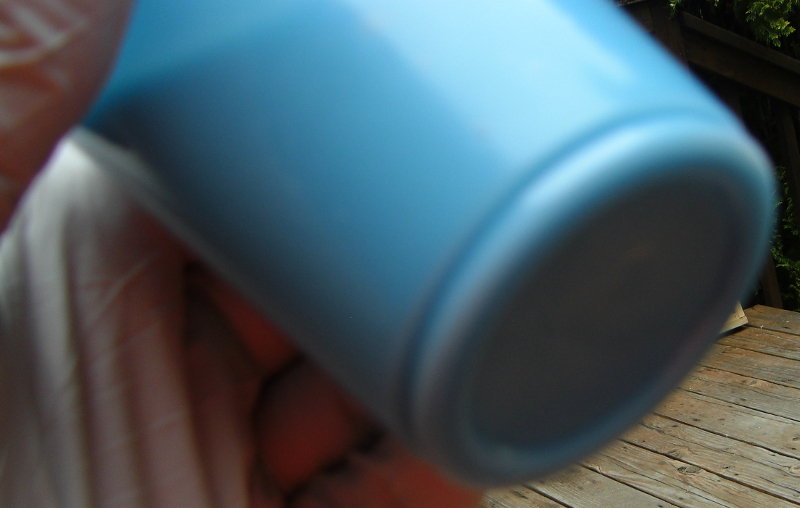
This time, I left the bottom of the box bare wood. It was definitely flat, and I took care to smooth the clay.
Removing it from the box was a little tough because the silicone stuck to the wood grain. Maybe next time I’ll try some mold release spray, or coat the bottom with clay and wipe it off to stay flat and a bit more slippery.