Roads and Rain

The 2017-2018 rainy season was rather tame.

This was about 2016-2017, which was a very bad year.

Roads are very important to folks who live in rural places.

Those barriers are enough for most people, not to mention the mud and the rocks. Who in their right mind would even think about driving down here? I considered it.

In cities you can jump over another block and be on your way. Out here, often there is no other way.

In the high mountains they got piles of this fluffy white stuff.

With water pouring out of every spring, some of the hills on our little mountain are not entirely stable.

We need to be a bit more flexible. What does “Road Closed” actually mean? Hint: It’s legal, not physical. The question on our minds is: “is it blocked?” If not, someone will find a way out.

Other times we’re stuck. If the back way is also closed, then the universe shrinks to a few miles of country road. Go home, telecommute if you can. Stoke up the fire and make some chicken soup. The road is taking a sick day.

Once the county cavalry gets there, it may take a few hours to get things cleared. Thanks guys!

Maybe a day or three if it’s still raining while they fight the ooze.

And sometimes when the county has too much backlog on their hands, the locals will just chew their own way out.


Posted in home | Tagged , , , , | Leave a comment

Making Silicone Rubber Molds

This is a nifty technology for making candles and casts, and lots of hobby and crafts. I learned how to do this at TechShop in San Jose. The smooth-on.com website also has lots of videos. It is a two part process, mixing equal amounts of these two containers.

3235

I build little boxes for the molds, plywood for the floor and thin poplar for the walls, glued together and sanded around the edges.

The walls are coated with clay. More clay makes it easier to get the final mold out, but the mold will pick all the detail, so spend some time making the clay cavity as smooth as possible, or your mold will look kind of lumpy.

There are two families of silicone rubbers, zinc and platinum based. I’m using the platinum, which are food grade, so they can be used for making ice cube and chocolate molds, etc. The clay used with platinum based silicone must be sulfur-free, like this plastiline.

3230

I use little medicine cups with lots of measurement lines. I determined that I needed 4 ounces total, so poured out 2 oz of each. Then pour both into a cup for mixing. I had to scrape out both to get all of these rather thick liquids.

3236

Time to start mixing. the working time is about 6 minutes, so it has to be mixed and poured before then. Rotate the cup, scrape the sides, stir briskly.

Keep mixing until all the traces of white are gone. Not yet.

3240

This is ready, uniform light blue, no traces of white left,

3241

Now it’s time to pour. The mold is a negative cavity which allow you to make copies of something. The original positive used to make the mold is called the plug.

There should be at least 1/2 inch on every side between the plug and the sides of the cavity. This ensures that the resulting mold will be strong enough to handle and not tear when trying to get the final objects out.

3243

The quality of the mold is in part determined by how carefully you cover the plug, making sure there are no bubbles under the silicone. Those bubbles on top are OK.

Scrape the sides of the cup to get all the goo out.

3246

Don’t throw the cup away just yet. Keep it until the silicone sets. When you can peel away the contents, then its done. The box says 30 minutes, I usually leave it a bit longer.

3249

My previous attempt using this technique, I used lots of clay, which made it easy to pull out. The bottom was a clay surface and it looked sort of flat, but clearly it wasn’t.

3252

This time, I left the bottom of the box bare wood. It was definitely flat, and I took care to smooth the clay.

Removing it from the box was a little tough because the silicone stuck to the wood grain. Maybe next time I’ll try some mold release spray, or coat the bottom with clay and wipe it off to stay flat and a bit more slippery.

3251

Posted in home, tech | Tagged , | Leave a comment

Off Grid Batteries

One question I get asked a lot is “how long do the batteries last?”
Batteries fail very slowly at first, then they seem to shrink until you replace them.

In the summer when there is enough sun to recharge them everyday, even marginal batteries seem endless. We really find out how they are doing in the winter with weeks of rain and cloudy days without sunshine. My current set are starting to feel the strain, so some weeks I get to carry gas cans.

A Word About Generators

The most important thing I’ve learned about generators is how to turn them off. There’s an electrical switch and a fuel on/off. Most servicing is for gummed up carburetors – gas left in the works dries out and becomes the gunk in all the tiny parts in the carb. So I turn the fuel off and let it run dry. Less gas leftover keeps the carb clean between uses. Ready when it’s needed again. “Mechanic in a Bottle” is good too.

How Batteries Work and Fail

The kind of batteries we use for off grid systems are the sulfuric acid in a plastic box with lead plates. The plates are porous, a bit like sponges with a very large surface area exposed to the acid.

In the discharge phase, useful power is released as the acid dissolves the surfaces of the plates. Lead ions go into solution with the acid, and extra electrons head to the terminals to do our work. In the charging phase, power is put into the battery, extra electrons push the lead ions out of solution and back into the plates.

Water vapor can escape during charging, so it is important to make sure the water level stays high enough. The liquid should always stay above the plates, and only distilled water with no minerals can be used to fill the cells, up to a line marked by the manufacturer. The plates can be damaged by letting any portion go dry. An oxide forms on the parts exposed to air. As if the batteries had shrunk, that portion of the capacity won’t come back. There are vapor recovery caps that let the water drip back into the battery instead of escaping, but they seemed expensive last time I checked.

Cruising

Charge cycles

This is a great little meter from Cruising Equipment. It works fine on a 24 volt solar systems, even if it thinks my house is a boat. It shows:

  • Voltage of the battery stack
  • Amps into (+) or out of (-) the battery
  • Accumulated Amp Hours (removed from the battery)
  • Time until empty at the recent load

The Accumulated Amp Hours may seem upside down at first, but the directions do make sense. Full charge is zero, then amps hours subtract. The negative number grows down as discharge continues. Charging “fills in the hole” and the accumulation increases towards full at zero.

Each battery design has a maximum number of deep charge/discharge cycles rating. The plates get a sort of metal fatigue after too many cycles. Shallow cycles are much less damaging, so larger systems tend to last longer.

A new battery might have a daily usage only 20% its capacity, barely counting as a cycle at all. While an old battery with shrunken capacity close to the daily usage might be doing a full charge cycle every day, and accelerating its own decline.

Car batteries are not made for deep cycling. They like to stay close to fully charged after running a bit and keep energy for starting. Golf cart batteries are designed to deep cycle everyday for years, so they are good for solar and have been used for solar systems for many years. The T-105 is specifically made for solar systems, so it’s even tougher, better for lots of dis/charge cycles than golf cart batteries.

Stack

Long Life

This stack of 12 batteries is arranged 4 x 6V in series to make 24 Volts, with 3 sets in parallel to make 660 Amp Hours (AH) or about 16 KWH of capacity.

At here’s what they cost over the years:

1991 $ 845 12 x 2200 $ 850 / 8 yrs = $ 9/month

1999 $ 956 12 x 2200 $ 1800 / 17 yrs = $ 9/month

2008 $1600 12 x T-105 $ 3400 / 24* yrs = $12/month
*assuming the next batch in 2015

A definite bump for better batteries and the price of lead, but still quite reasonable over the long term. My normal usage now averages about 100 AH per day, or a 15% depth of discharge. In the early years those cycles are essentially free, as it might take a week of shallow cycles to add up to one deep cycle. 500 deep cycles is less than 2 years if 50% or more capacity is used every day. They will last a lot longer if the total AH capacity is a multiple of the daily usage. 7 years is over 2500 days, so clearly not every day was a cycle.

The above layout doesn’t take much space but it’s hard to maintain. I need to use a mirror and a flashlight to see the water level in each individual cell. A flatter design would take up more room, but maintenance would be easier if you can quickly see and pour into the cells. They might have lasted even longer if the maintenance had been easier.

Posted in home | Tagged , , | Leave a comment

Kickstarter Project – PWRLNK-55

kickstarter-500

I have a Kickstarter campaign running for this little board, the PWRLNK-55, which converts the kind of voltages we see on solar panels, often around 21 Volts, down to the very useful 5 Volts used by USB and many electronic devices. The post a few weeks ago about hand soldered surface mount was on one of these prototypes.

400-3117

Here’s a small solar panel powering an Arduino board and some servo motors. The panel output is too high for the Arduino to accept directly. The PWRLNK-55 efficiently converts the panel voltage down to 5 Volts for the USB port.
Switching power supplies like this convert high voltage low current into lower voltage higher current, preserving most of the overall power.

1024-3047

The maximum power point of this panel is 16.6 Volts at 0.28 Amps for 4.7 Watts. The PWRLNK-55 is about 90% efficient, so 4.2 Watts / 5 Volts = 0.85 Amps. That’s much better for small devices than using a linear regulator with a big heat sink, and getting only the 0.28 Amps with a lot of waste heat.

600-2278

The USB outputs support the 1.5 Amp Direct Charging Port standard for charging phones, tablets and other modern devices.

1024-3087

Lots of electronics including Do-It-Yourself designs don’t use USB, so there are also screw terminal outputs for simple wire connections.

1024-3094

Please visit the Kickstarter page:

https://www.kickstarter.com/projects/205568268/pwrlnk-the-versatile-power-converter

Posted in tech | Tagged | 8 Comments

A New Batch of Mead

Mead is the oldest of fermented alcoholic beverages, a wine made from honey. There are cave drawings of honey gathering from bees hives going back almost 10,000 years. If left to sit for a while, honey with a bit of wild yeast and water in a closed container pretty much make mead by themselves. Meads were enjoyed by the Vikings and very popular in England until the French invasion, when they were displaced by plentiful good quality grape wines.

I’ve looked at books that show how to make beer. So many steps! Boil this, mash that, put something in at just the right temperature, leave it in for the right amount of time, strain, re-boil, wash, etc, etc. And at the end, so many little bottles to wash and fill.

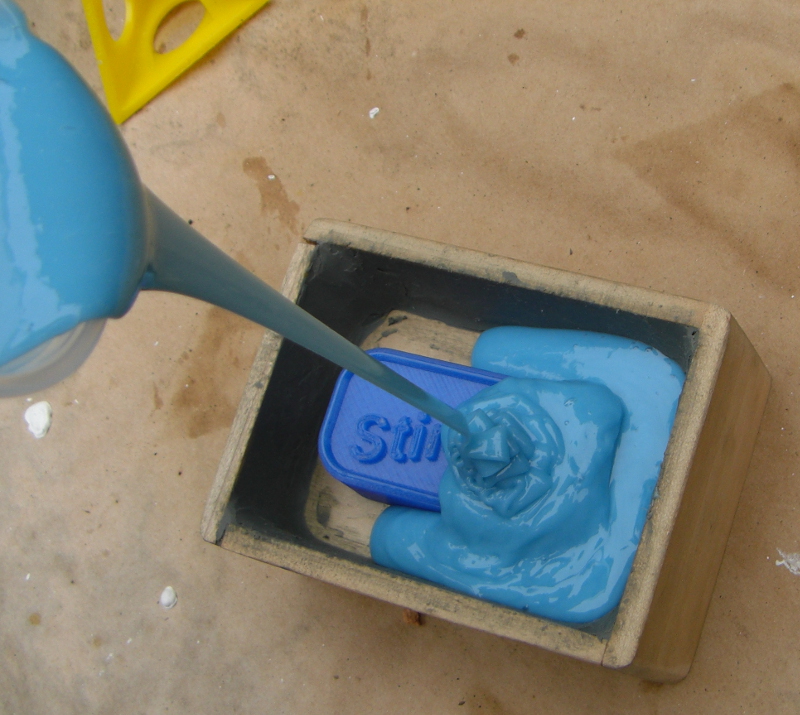
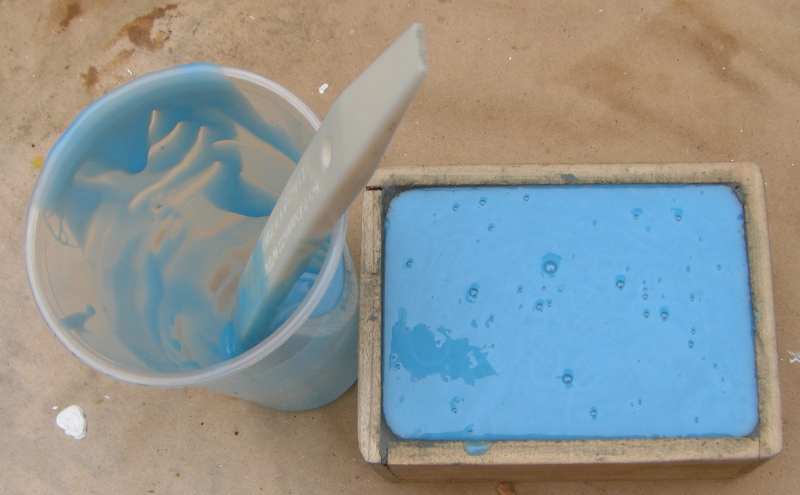
The hardest part of making mead is rehydrating the yeast and creating a good starter. Of course all brewing including beer and mead require clean equipment, and that can mean a certain amount of scrubbing. Clean first, then sanitize. I use StarSan acid sanitizer as the last step. It is very dangerous when undiluted, so take care. I mix it according to the directions (1 oz per 5 gallons of water) and then it seems quite safe. I do not wear gloves and haven’t had any irratation from it. Chlorine bleach works as a sanitizer too, but I found that needed too much rinsing. The StarSan doesn’t need to be rinsed, since the yeast can use the tiny bit of acid.

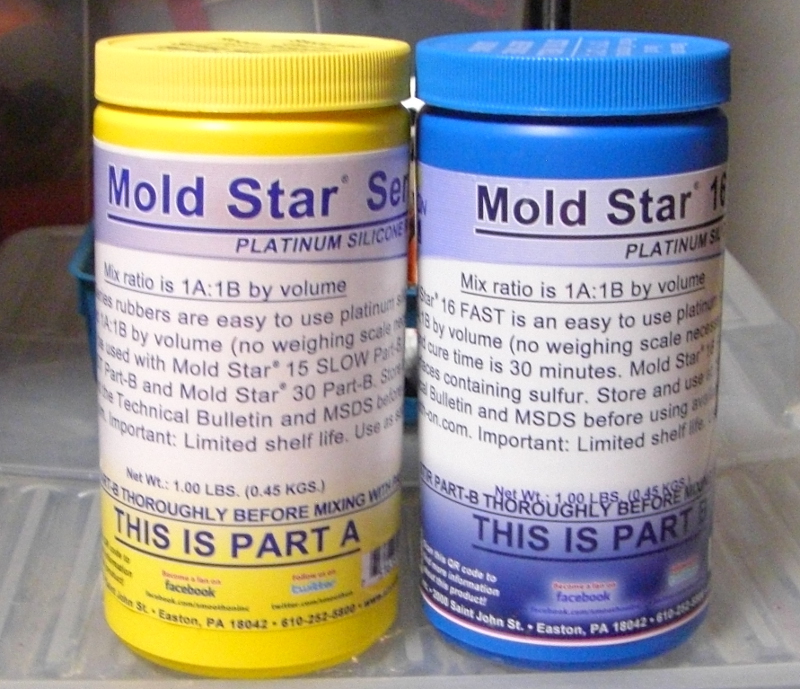
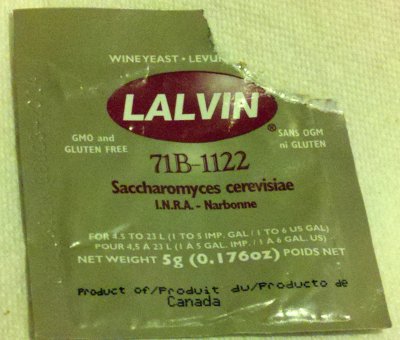
I use this Lalemand 71B-1122 for almost all of my meads, many of which are fruit varieties, called melomels. Most of the time, I make a 5 gallon bucket of ‘show mead’ like this one without extra flavors, just the honey itself. When that is finished fermenting, I siphon the mead into 1 gallon jugs with a pound of fruit or some spices, and let the mead age for a few months while it absorbs the flavors of the whole friut, skins and all (but not the pits).
1-30100

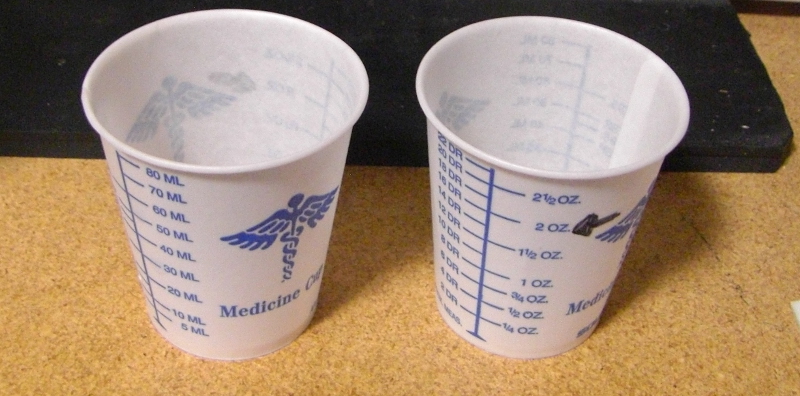
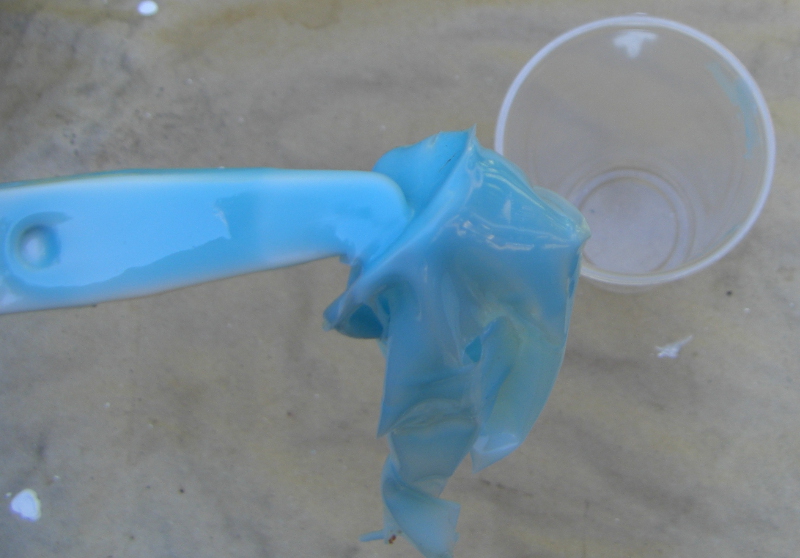
Just get 30ml of distilled water to 105F (45C), stir in 5g of yeast nutrient, then stir in the yeast and let it sit for 15 minutes.
2-2600

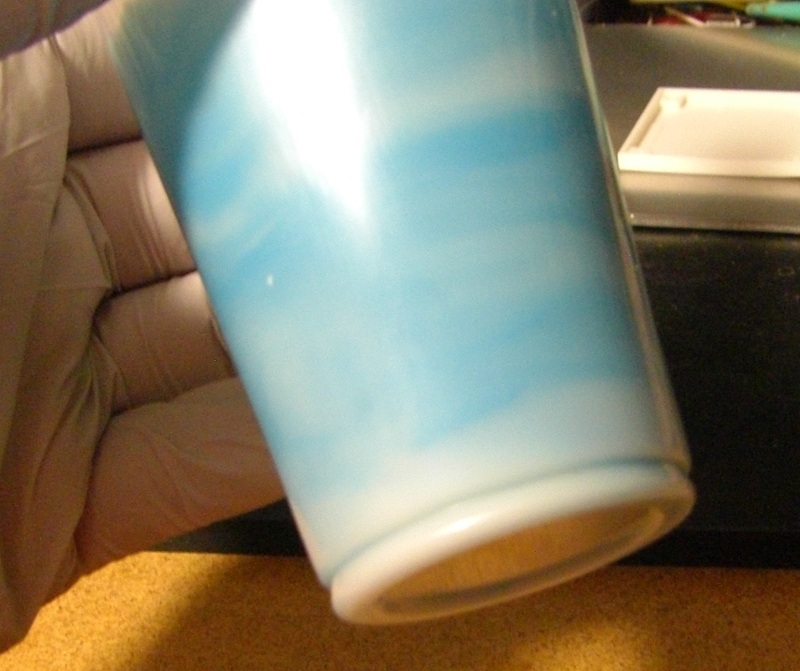
Yeasts are specific species of fungi that live in wet environments without oxygen. They need oxygen to muliply, but later I’ll seal the vessel, with a bubble trap to let out the pressure build up, so they can start converting sugars to alcohol and carbon dioxide. If all is well it will start to foam. Carl Sagan would be proud – eventually there will be billions and billions – a billion yeast cells per cubic centimeter.

3-2601

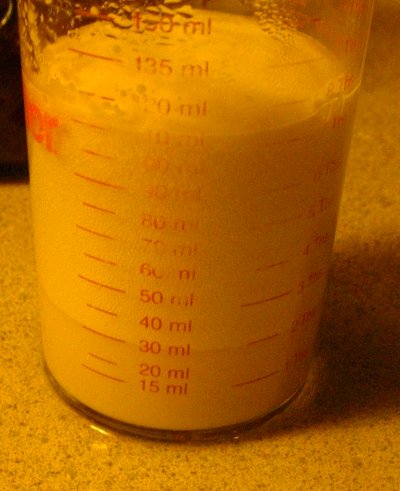
Then make up a quart (liter) jar about 1/2 full of 90F water with a teaspoon of sugar. The yeast mixture will have cooled to a similar temperature and it is important not to shock the yeast by cooling it too fast. Pour the foamy yeast mixture into the jar and give it a quick stir. This is the starter. Left on its own for a while, it will continue to foam.

Now for the ‘must’, the mixture of ingredients that becomes the mead, what beer makers call the ‘wort’. This is essentially a big food grade plastic bucket with 8 to 20 pounds of honey with water, and the starter, stirred very well. Look in books or online for mead recipes, the amount of honey to use depends on whether you desire a dry or sweet mead, or something in between.

I recommend “The Compleat Meadmaker” by Ken Schramm, spelled the old English way.

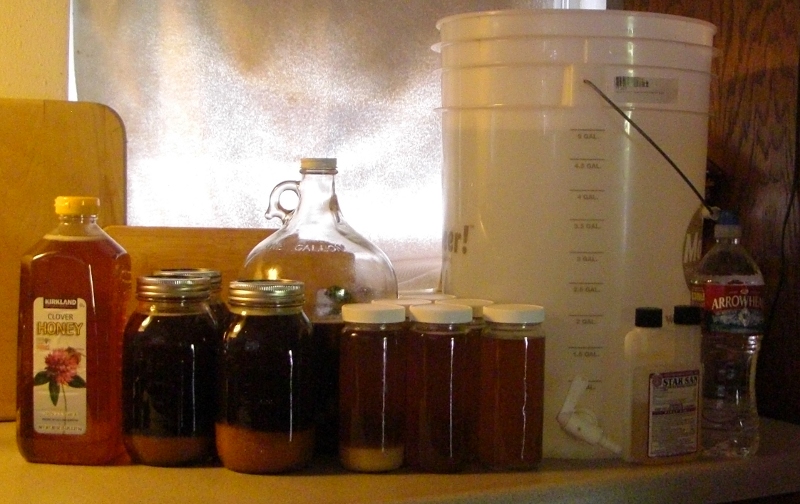
This batch is to be a sweet mead based on honey from a local apiary in the Santa Cruz Mountains. Here I am using 9 lbs of dark, 8 lbs of light, and 5 lbs of clover with spring water to make 5.5 gallons. The honey was crystalized, so I diluted it with warm water the day before and poured back into the orginal jars. It all gets diluted when making mead anyway so there is no harm in doing it this way, and it took a few hours just to get everything liquid again, so doing that the day before was a good way to break up the work. The crystals can be seen on at the bottom of some jars.

4-3106

The stirring oxygenates the must, giving the yeast a chance to get good start. I use a hand mixer plunging in and out of the liquid to create a good froth. The temperature of the must should be about 80F when you dump in the starter, so heat some of the water. This is essentially a no heat process, unlike beer making with its endless boiling. Of course beer makers need to get the sugars out of grain. The yeast need no help to get the sugars from honey and boiling the mixture would expell many of the aromatics, so I avoid heat as much as possible.

The standard way to get a particular alcohol result is to watch as the specific gravity changes and use Camden tablets (sulfites) to kill the yeast when you have the right numbers. But some people have bad reactions to sulfites.

The more natural way is to plan ahead knowing the alcohol tolerance of your yeast and put in enough sugars that there will be residuals when the yeast reaches its tolerance point.
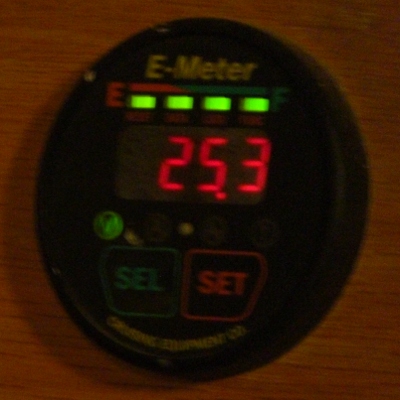
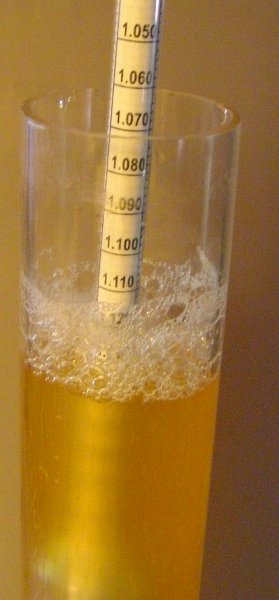
I haven’t derived this myself, but the rule of thumb is ABV = 133 * ( FG – OG ). Alcohol By Volume is 133 times the difference between the Final specific Gravity and the Original specific Gravity.

After 24 hours, I filled the hydrometer sample tube. The must was bubbling like crazy and it took a few minutes to settle down enough to get a reading. In the first few days the specific gravity can drop by as much as 10 points a day, though it’s a waste of 4 precious ounces for each measurement, so after the first couple of days, I make my self wait for a week between checks.
5-3114

When the yeast has done its job it will die off and settle to the bottom, and the mead will become clear. Then I drain from the bucket and put the mead into glass bottles of various sizes to age. Some by itself, some with fruit. Then it’s best to forget about them for a few months. This is a slow hobby, and good things come to those who wait.

Posted in home | Tagged , , | Leave a comment

Hand Soldering Surface Mount

Most modern electronic devices are now made with Surface Mount Technology (SMT). Sometimes you see the abbreviation SMD for Surface Mount Devices. They are cheaper to mass produce, but need some manufacturing setup which is often too expensive to do for prototypes or small quantities of boards.

I’ve been working on a new SMT design and have been hand soldering the prototypes. These parts are really small.

1-640-2998

I need a magnifying worklight to see the details.

2-640-2990

Tack flux is used to hold the parts to the board and to help the soldering by whetting or wicking. It isn’t an adhesive, just highly viscous, so it holds parts in place through a fair amount of vibration or bumping the board.

3-640-3000

Pick up devices with tweezers and drop them onto the flux.

4-640-2989

Use a probe to maneuver the part onto the pads.

51-640-3001

This part needs a bit of practice, so try it on larger parts first, then work your way to smaller ones. I can do 0805 which is 0.080 by 0.050 inches, but I avoid using 0403. I use a probe to position the part, then hold it down, get a tiny blob of solder on the iron tip. Then just wipe the tip of the soldering iron against the junction point, touching both parts of the connection, the part and the board. The flux makes a huge difference here, quickly wicking the solder into the gap between the part and the board.

52-640-3003

Clean up all the excess goo with a swab and alcohol. The tack flux is much easier to clean than the harder sticker flux they use in the core of the solder.

60-640-3005

After the alcohol dries, the junctions are nice and shiny.

70-640-3007

These boards have about two dozen parts each, so my technique has been improving through lots of practice.

Posted in tech | Tagged | Leave a comment

Checking Up on an Old Solar Panel

I tinkered with solar cells all through high school, making small panels and using them to charge batteries, run fans and lights. I got this Arco M25 in January 1989. At that time, Arco was one of the few, if not the only, US maker of solar panels. A friend of a friend once worked there. It was my first “serious” solar panel, more than just a few watts for charging small NiCd batteries, which were the predominant rechargeables back then.

The M25 could charge big 12V gel cells or car batteries. It’s a stand alone self regulating type, so it doesn’t need a charge controller. It spent years on the roof in heat, fog, heavy Santa Cruz Mountain rain, used for backup lights and a ventilation fan. And now and then charging the battery enough to get the car started.

They tend to brown as they age and the power production gets reduced.

CIMG2541s

The bubbles are caused by moisture that has gotten through the laminate and sealants. I suspect this will be the cause of most of the power loss.

cell

I forget the original rating of the M25 – marketing always seems to name things optimistically – it could have been as low as say 22 watts. We assume some reduction of power output with age, but by how much?

Power (watts) = Voltage * Current (amps)

Measured Open circuit voltage  Voc = 16.5 V
Measured Short Circuit Current Isc =  1.3 A

Well, that looks like 21.45 watts – but not really, because the voltage in a short circuit is zero, and the current in an open circuit is also zero. So we have to actually measure power to see what it can do.

2949

I use a set of big ceramic 25 Watt power resistors for load testing, unfortunately kind of hard to see here white against white, between the terminal blocks. Starting with 10 ohms, then adjusting up and down, and putting all the results in a table:

OHMS  VOLTS  AMPS  WATTS
———————————-
19 ohm    10.6    0.56    5.9
15 ohm    10.0    0.66    6.6
10 ohm     7.8    0.80    6.2
9 ohm     6.8    0.77    5.2
5 ohm     5.0    0.91    4.6
4 ohm     4.0    1.00    4.0

Possibly some more fine tuning, bracketing around 15 ohms, might yield a bit more, but this gives a pretty good idea. After 25 years it is still a photovoltaic solar panel – converting light to electric power, about enough to charge your cell phone with an adapter, but it’s only good for a quarter of its original rating.

Posted in home, tech | Tagged | Leave a comment

Another Year

It’s been a year since I started this blog on the way back from a trip to Vermont to see the fall foliage colors. I should put up a few shots of this year’s trip:
130927_PC1712


130929_PC1776


130929_PC1813

Posted in travel | Tagged , | Leave a comment

Broken Windows and the Metric System

The US is the only major economy in the world that doesn’t use the metric system. Even the English are no longer using so-called English measurements.

In the metric system there is only one unit for each type of thing – weight, distance or volume. The modifiers for larger and smaller quantities are the familiar prefixes for powers of 10. Kilo means one thousand, milli means one thousandth, mega is millions and micro is one millionth.

The unit for distance is the meter. A centimeter is 1/100 meter and a millimeter 1/1,000 of a meter, while kilometers are 1,000 meters. The unit for weights is the gram. Larger weights are in kilograms 1,000 grams, and tiny things are measured in thousandths or even millionths of grams, milligrams and micrograms. The unit for volumes is the liter, and smaller volumes are measured in milliliters.

It doesn’t really matter how big grams or ounces, meters or yards, liters or cups are, as we all use gadgets to measure these things. Digital kitchen scales measure grams just as well as ounces. A bathroom scale can measure kilograms, and a measuring cup can be graduated in milliliters. Everyone else in the world uses meter tape measures.

So how much time are Americans wasting dealing with all the fractions? Suppose you want to cut a board in half and it measures 2 feet 5 7/32 in. You don’t eyeball that, you use a tape measure. Can you figure that out in your head? Or on a calculator changing back and forth between fractions and decimal? The metric tape measure says 74.2 cm. Half of that is 37.1 cm. Much quicker and simpler.

Or maybe you have a recipe with 1 3/4 cups of sugar and 2 1/3 cups of flour. Aside from the fact that volumes can have different weights depending on how tightly or loosely you pack things like flour or brown sugar, how can you simply divide such a recipe? Professional cooks already use weights instead of volumes for greater consistency. And recipes using metric numbers like 400 grams of flour, or 300 grams of sugar are trivial to double or divide.

We’re already in somewhat of a transition mode, and have been for decades. We just haven’t yet made the commitment to leave this inefficient past behind. Most food items are now marked with both units. Water and soft drinks have been primarily in half liter and 2 liter bottles for quite a while and alcohol has been sold by the 750 mL for even longer. Milk and orange juice are stubbornly holding on on to their quarts and gallons.

Could we create many new jobs and boost the economy if we just forced the conversion? Think of all the thousands of new road signs with speed limits marked in kilometers per hour instead of miles per hour that would need to be made and installed. Food labels would get redesigned to make the metric value more prominent and the old in parentheses, the opposite of what we do now.

Kids in school would learn the simple metric system and that we used to use another strange system with foolish rhymes “a pint is a pound the world around”, and a dozen special names for the 3 common quantities. Old systems of measurement that belong in the history books with cubits and furlongs.

Wait, slow down! Isn’t all that just a example of the Broken Window Fallacy? The idea in economics that breaking windows seems to create jobs, but really only moves wealth away from window owners to window fixers? Why should we burden ourselves with this huge cost? This really misses the biggest impact.

The STEM disciplines – Science, Technology, Engineering, and Math are widely held to be the path to the future of better jobs and a more modern vibrant economy. Science, engineering and technology all use the metric system. Concepts in chemistry like Avogadro’s number and standard volumes of gases require grams and liters to understand. The SI unit system used in physics is all metric.

Why are America’s school children consistently doing poorer in these subjects than the rest of the world? Could it be that they first have to waste time learning an ancient system with a dozen special quantities? 12 inches to a foot, 3 feet to a yard, and 1760 yards or 5280 feet to a mile. This becomes their baseline, the system they go back to mentally.

Imagine the advantage of students in every other country, where metric is the first system they learn. They never have to waste class room time or mental energy memorizing that there are 16 ounces to a pound. Or that there is a completely different kind of ounce for volume, with 8 of those to a cup, and two cups to a pint, two pints to a quart, and 4 quarts to a gallon. All this makes about as much sense as shillings, tuppence and ha’pennies, or trying to balance your checkbook with Roman numerals.

We should make the commitment to join the modern world.

Posted in tech | Tagged , | Comments Off on Broken Windows and the Metric System

The One to Beat July 1993

I’ve long been a laptop user. They tend to be more efficient with power usage. In the early days before I had enough solar panels, that was an important detail. I still don’t have enough power to leave a large desktop system running 24/7.

Amongst the detritus in my desk is this card, which I wrote 20 years ago. “The one to beat July 1993″ was my estimation of the very best laptop available at that time. The Toshiba T4600C had a 9.5” active matrix color screen! Color was pretty rare back then, and they commanded a pretty steep price premium $1600 over the monochrome (grayscale) model. You probably could have bought a cheap car for $4700 in 1993.

T4600_2568
PCMCIA slots (the pre-cursor to PC-Cards and Express slots) were very important then, as they allowed you to get a modem and ethernet. Dial-up was the only way to communicate over long distances, as DSL, cable modems and WiFi didn’t come along until later.

Nowadays I carry one of the early Lenovo S10 models – the one with the matte screen – the newer shiny screens may be good for watching videos, but I think they are terrible for writing and programming.

So let’s do some comparisons to see how far laptops have come in 20 years 🙂

The T4600C had a 340 MegaByte drive, and came with 4 MegaBytes of RAM, expandable to 20MB. Yes, Windows (3.1?) and an application or two used to run in 4 MegaBytes. You can configure a tiny Linux system to do that, but nothing from Microsoft will even load in that little space today. My Lenovo has 2GB of RAM and I put in a 180GB SSD drive. Aside from the SSD speed advantage, the disk space is a factor of 500 times, and the RAM about 100x.

The 486SL33 ran at 33Mhz built in a 1 micron process (the width of the silicon lines). The 1.6Ghz Atom CPU in the netbook is about 50 times faster just in clock speed. The Atom is built with a 45 nano-meter process, about 22 times finer. But that number needs to be squared to get the true picture – there are 500 times more gates in the CPU, yielding a good deal faster architecture even for the same clock.

2.7 lbs (1.2 kg) is light enough to carry around all day, 6.7 lbs (3 kg) was not. And as we’ve come to expect from technology, the newer, faster, lighter machine costs about one tenth as much as the older one.

Posted in home | Tagged , | Leave a comment